Adding commenting to your Ghost install with Coral Project's Talk and Docker
A step-by-step guide to set up Coral Project's Talk and integrating it into Ghost, all running on Docker.

Having switched my website to Ghost running on Docker a while back, I'm definitely a convert. It has made the administration of my website significantly easier, but I was missing one thing: Commenting. So I set out to find the simplest self hosted solution for commenting.
It came down to either Discourse or Talk. Looking at both solutions, I ultimately decided to go with Talk, as Discourse is a significantly larger tool, really more focused around building a community and forum - not just commenting.
With my entire site running on Docker, why not run Talk on Docker too. Good news is that there is a step by step guide on the Talk project site.
Set up Talk
Simply create a folder on your server, mkdir talk and then create a docker-compose file: vi docker-compose.yml
Simply paste the config file from the official guide, or my slightly modified one below - I simply add it to my existing network instead of forwarding the ports:
version: '2'
services:
  talk:
    image: coralproject/talk:latest
    restart: always
    depends_on:
      - mongo
      - redis
    environment:
      - TALK_MONGO_URL=mongodb://mongo/talk
      - TALK_REDIS_URL=redis://redis
      - TALK_ROOT_URL=https://YOURSITEHERE
      - TALK_PORT=3000
      - TALK_JWT_SECRET=<ADD A RANDOM YOUR KEY HERE>
  mongo:
    image: mongo:latest
    restart: always
    volumes:
      - mongo:/data/db
  redis:
    image: redis:latest
    restart: always
    volumes:
      - redis:/data
volumes:
  mongo:
    external: false
  redis:
    external: false
networks:
  default:
    external:
      name: http
Now that your config file is ready, simply fire up the stack with: docker-compose up -d
Add it to your nGinx configuration
As I already configured Lets Encrypt wildcard certificates on nGinx, it was simply a matter of adding a upstream element and 2 new server sections, one for HTTP and another for HTTPS.
Upstream Section
upstream docker-talk_talk_1 {
   server talk_talk_1:3000;
}
Server Sections
server {
    listen       443 ssl http2;
    server_name  talk.florianjensen.com;

    location / {
        proxy_pass         http://docker-talk_talk_1;
        proxy_redirect     off;
        proxy_set_header   Host $host;
        proxy_set_header   X-Real-IP $remote_addr;
        proxy_set_header   X-Forwarded-For $proxy_add_x_forwarded_for;
        proxy_set_header   X-Forwarded-Proto https;
        proxy_set_header   X-Forwarded-Host $server_name;
        proxy_hide_header  X-powered-by;
    }
    location /api/v1/live {
        proxy_pass http://docker-talk_talk_1;
        proxy_http_version 1.1;
        proxy_set_header Upgrade $http_upgrade;
        proxy_set_header Connection "upgrade";
    }
}

server {
    listen       80;
    server_name  talk.florianjensen.com;

    return 301 https://$server_name$request_uri;

}
That's it. Simply restart your nginx server and you're good to go!
Configure Talk
Now that everything is up and running, it's time for you to go to your configured website and go through the web configuration. This will set up your account as well as allow you to configure Talk itself.
Integrate Talk into Ghost
On to the last step. There are a few ways to integrate Talk into Ghost. However, most of them require you to modify the theme. Now, one of the big advantages of running Ghost on Docker is that you can have it automatically update the theme along your Ghost install itself. As such, manually modifying the theme isn't the best idea.
This is where I discovered a great post by Snorre Magnus Davøen, where a little JavaScript hacking allows you to automatically embed it on the post pages, without any need to modify the templates.
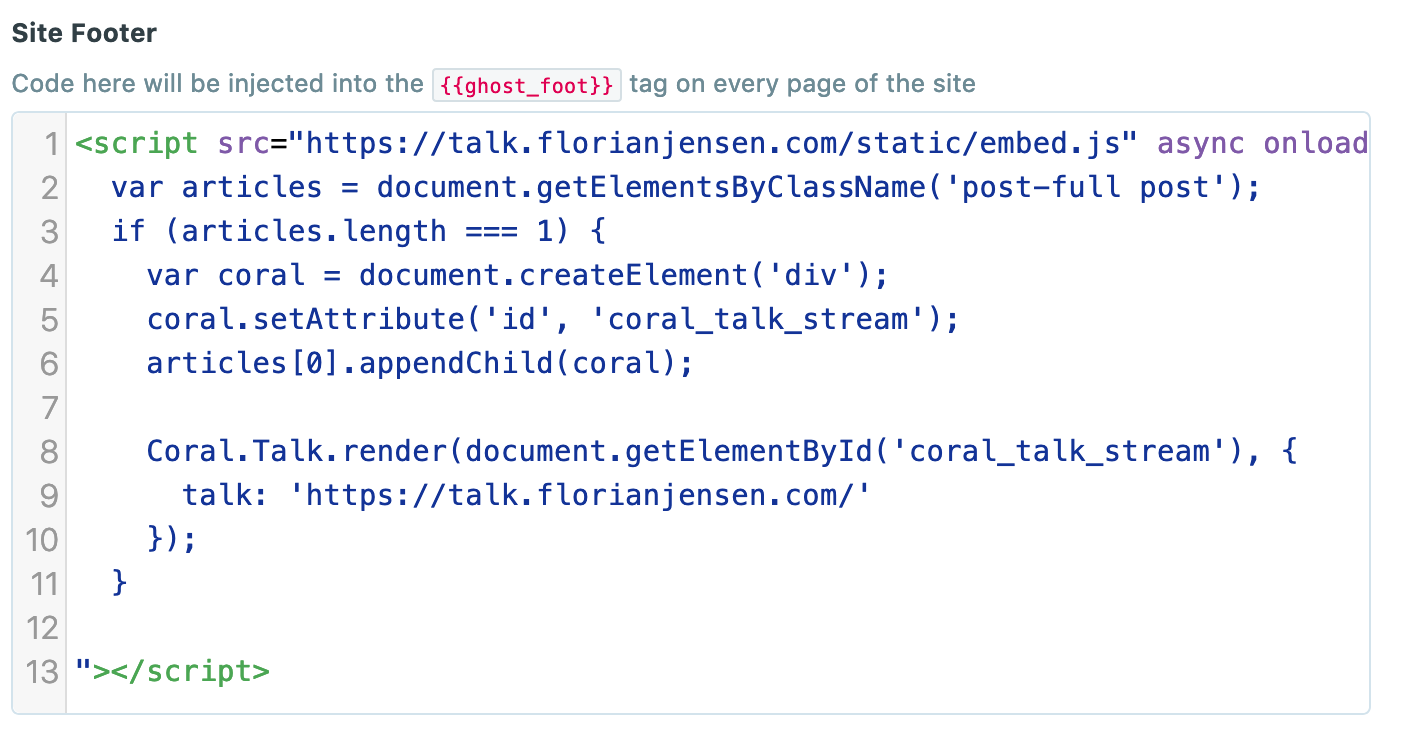
Simply add the following code snippet to the Site Footer in your Ghost configuration, under Code Injection > Site Footer:
<script src="https://talk.florianjensen.com/static/embed.js" async onload="
  var articles = document.getElementsByClassName('post-full post');
  if (articles.length === 1) {
    var coral = document.createElement('div');
    coral.setAttribute('id', 'coral_talk_stream');
    articles[0].appendChild(coral);

    Coral.Talk.render(document.getElementById('coral_talk_stream'), {
      talk: 'https://talk.florianjensen.com/'
    });
  }

"></script>

Just hit save and you're good to go! You should be seeing posts show up in Talk and the comments section showing up on your blog.
Closing
That's it! You can see the comments in action below, so feel free to leave a comment.
