
Connecting the Midea PortaSplit to Home Assistant
Learn how to integrate the Midea PortaSplit with Home Assistant using the Midea Smart AC HACS integration. This guide covers extracting the device credentials, adding the AC manually, and fixing power monitoring.

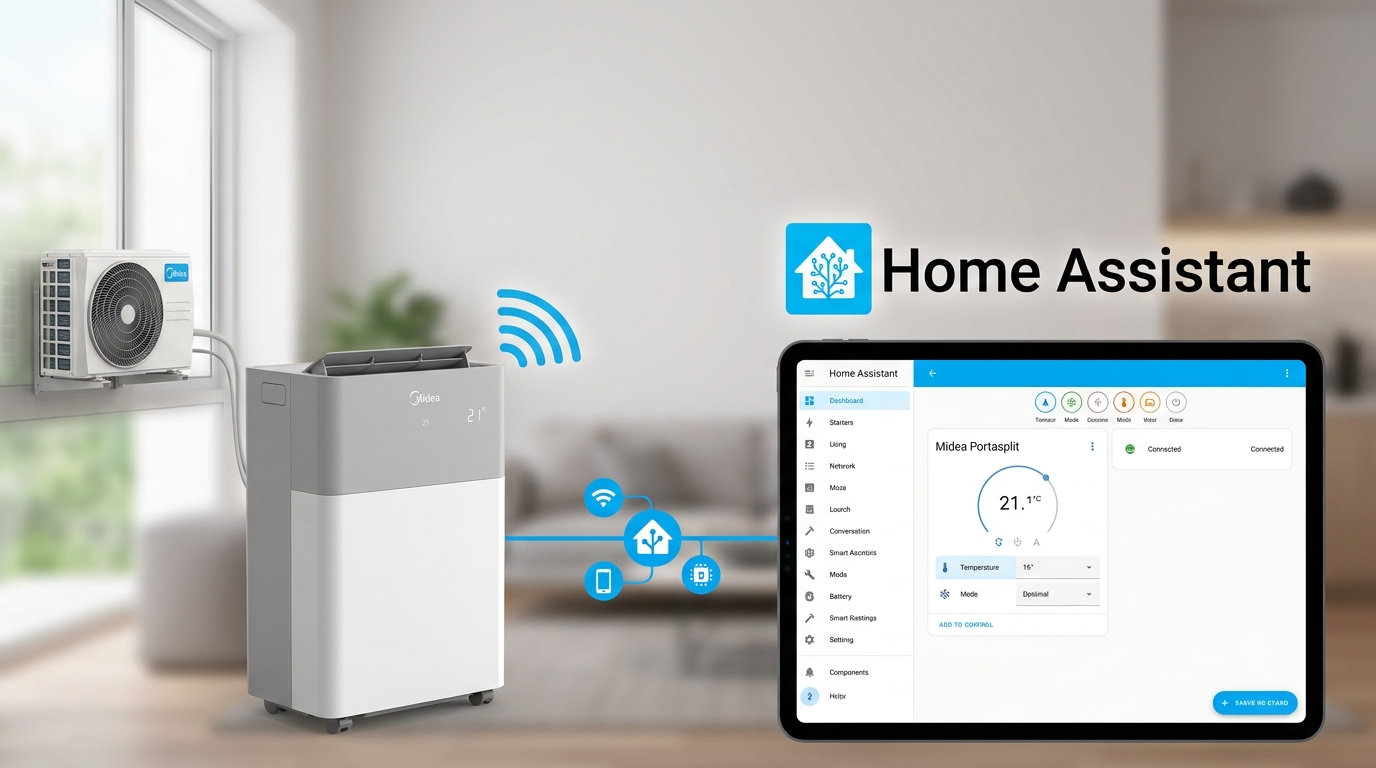
I've recently added a Midea PortaSplit to my home, and naturally, one of the first things I wanted to do was get it into Home Assistant.
The Midea SmartHome app works, but I much prefer having the PortaSplit integrated directly into Home Assistant. That way I can control it from my existing dashboards, use it in automations, and monitor its power consumption. My favourite automation being it turning on the AC when it's hot at home when I leave work.
Fortunately, there is a good integration for this: midea-ac-py by mill1000.
The setup is reasonably straightforward, although there are a few steps required to get the credentials from the device. Do keep in mind you need to connect the AC to your WiFi with the app before you can connect it to Home Assistant.
Install the Midea Smart AC integration through HACS
The first step is to install the integration through HACS.
Open:
HACS → Integrations → Explore & Download Repositories
Search for:
Midea Smart AC
You should find the integration from mill1000/midea-ac-py.
Install it and restart Home Assistant.
After the restart, go to:
Settings → Devices & services → Add integration
Search for:
Midea Smart AC
Don't configure it just yet. First, we need to get the credentials from the PortaSplit.
Install msmart-ng
To retrieve the credentials, we'll use msmart-ng.
You can install it on your computer using Python, so we'll use a Python virtual environment:
python3 -m venv ~/.venv
source ~/.venv/bin/activate

pip install msmart-ng
Get the PortaSplit credentials
First, find the IP address of your PortaSplit. You can usually find this in your router's DHCP leases or in the Midea SmartHome app.
Then run:
msmart-ng discover <PORTASPLIT_IP> -d \
  --account 'nethome+de@mailinator.com' \
  --password 'password1' \
  2>&1 | tr -d '\n' | {
    read -r output
    printf 'Host: %s\n' "$(printf '%s' "$output" | grep -oP "(?<='ip': ')[^']+")"
    printf 'Port: %s\n' "$(printf '%s' "$output" | grep -oP "(?<='port': )[0-9]+")"
    printf 'ID: %s\n' "$(printf '%s' "$output" | grep -oP "(?<='id': )[0-9]+")"
    printf 'Token: %s\n' "$(printf '%s' "$output" | grep -oP "(?<='token': ')[^']+")"
    printf 'Key: %s\n' "$(printf '%s' "$output" | grep -oP "(?<='key': ')[^']+")"
  }
This should give you all the output that you need:
Host: YOUR_MIDEA_IP
Port: 6444
ID: 12345678990
Token: SECRET_TOKEN
Key: SECRET_KEY
Keep these values around. We'll need them for the Home Assistant integration.
Note: TheTokenandKeyare device credentials. Don't share them publicly or commit them to Git.
Test the credentials
Before adding the device to Home Assistant, it's worth checking that the credentials work.
Run:
msmart-ng query <PORTASPLIT_IP> \
  --id <ID> \
  --token <TOKEN> \
  --key <KEY>
If everything works correctly, msmart-ng should return the current state of your PortaSplit.
Add the PortaSplit to Home Assistant
Now go back to Home Assistant:
Settings → Devices & services → Add integration → Midea Smart AC
Choose the option to configure the device manually.
Enter the values from the previous step:
| Field | Value |
|---|---|
| Host | Your PortaSplit IP address |
| Port | 6444 |
| ID | The ID from msmart-ng |
| Token | The Token from msmart-ng |
| Key | The Key from msmart-ng |
For the device type, select:
AC
Once the setup is complete, Home Assistant should add your PortaSplit as a climate device.
You should now be able to control things such as:
- Power
- Heating and cooling mode
- Target temperature
- Fan speed
- Swing mode
- Additional device-specific features
Correcting the Power Monitoring
There is one additional setting that is worth changing.
By default, the integration uses BCD for the power sensor format. With the PortaSplit, this can result in incorrect power readings.
Open the integration configuration:
Settings → Devices & services → Midea Smart AC → Configure
Find the power sensor format setting and change it from:
BCD
to:
Binary
After changing this setting, the reported power consumption should be much closer to the actual consumption of the PortaSplit.
Enable the energy sensors
Depending on your Home Assistant configuration, some of the additional sensors may initially be disabled.
Go to the PortaSplit device page and check the list of entities. You may find additional sensors that you want to enable, such as:
- Current power consumption
- Total energy consumption
- Other device-specific diagnostic sensors
Once enabled, you can add them to your Home Assistant Energy dashboard or use them in automations.
Done
That's it. You should now have your Midea PortaSplit integrated directly into Home Assistant.
The integration works locally, which is one of the main reasons I prefer this approach over relying entirely on the Midea SmartHome app. Once configured, Home Assistant can communicate directly with the PortaSplit on your local network.
For me, the most useful parts are having the PortaSplit available in my existing dashboards, being able to automate it based on temperature or occupancy, and getting the power consumption directly into Home Assistant.
The only slightly annoying part is getting the credentials, but hopefully the command above makes that process a little less painful.