Configuring APC BX950U-GR UPS on Synology
Setting up the APC BX950U-GR UPS on your Synology NAS after it failed to automatically recognise it, just saying "No UPS is connected".

Today we're going to walk through how to configure the APC BX950u-GR battery backup on your Synology NAS.
After having had several minor power outages here in Spain resulting in my NAS improperly getting shut down, I decided it was time to buy an uninterruptible power supply (UPS).
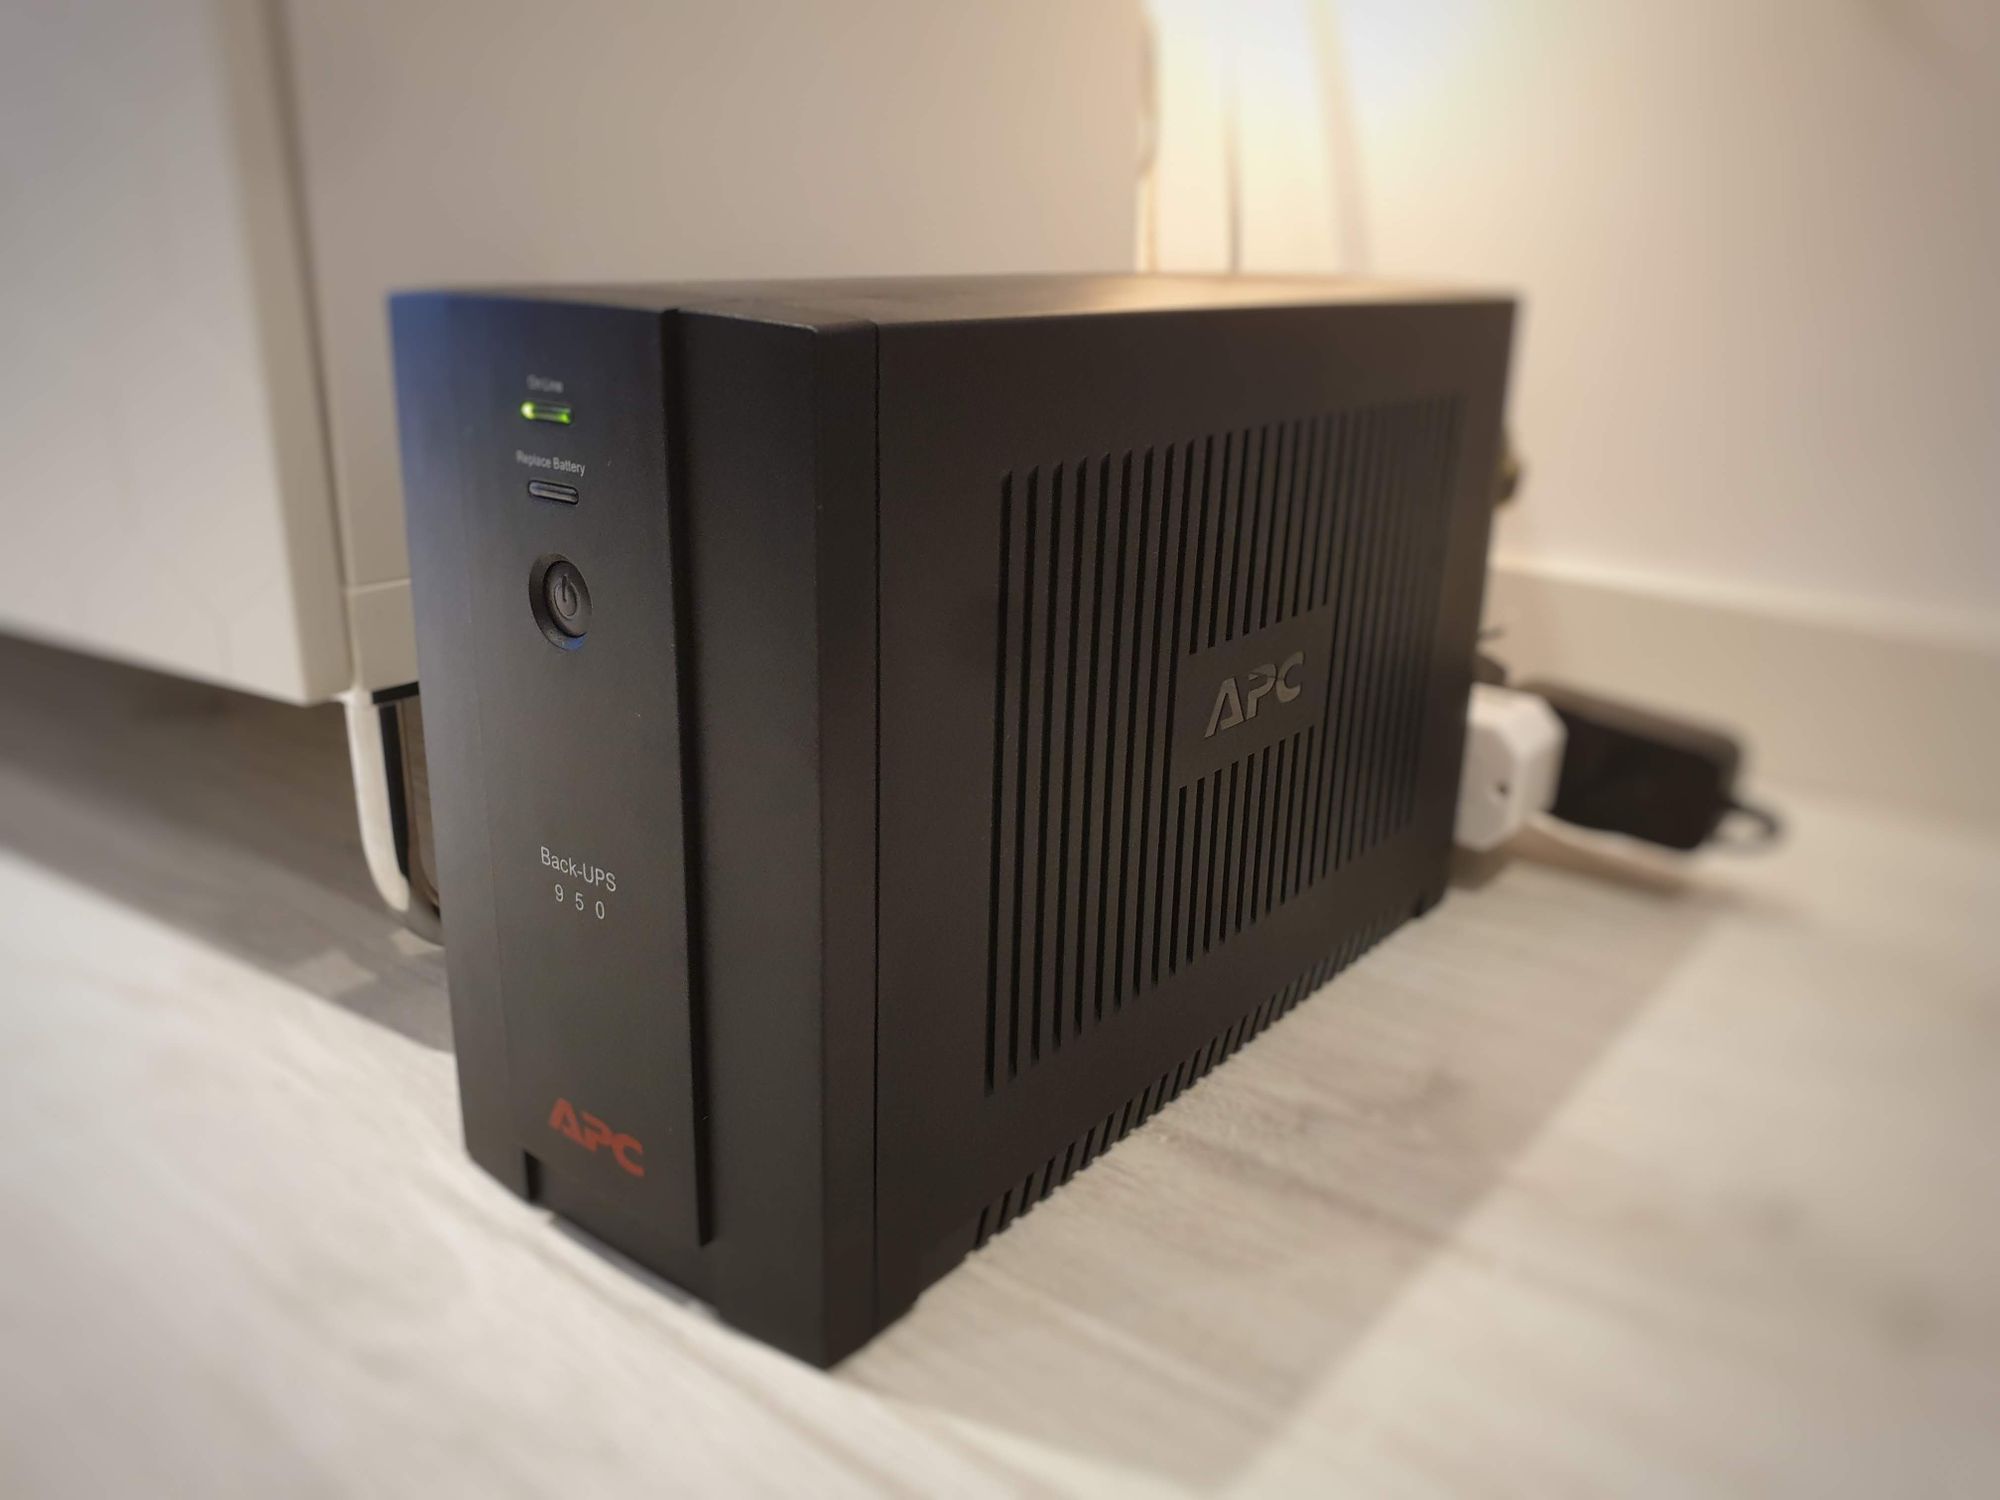
I briefly google'd round the internet and ended up settling for the APC BX950U-GR a it would give me enough runtime for my Synology NAS and network equipment to cover these minor outages while also not being overly expensive. Turns out I may have overestimated my power consumption, so it'll power my DS918+ for over 1 hour.
Connecting your UPS
The process of unpacking the NAS and setting it up for the first time is pretty self explanatory. Simply plug it in to the wall and connect your devices to the back of it.
You'll also need a standard USB printer cable to connect the APC BX950U-GR to your NAS. This is not included in the box, so you'll need to get that on your own. Simply connect this to the PowerChute port on the back of the UPS and plug the other side into your Synology NAS.
Configuring your DSM
Now it's time to configure your shiny new UPS on your Synology NAS. Head on over to the Control Panel and select Hardware & Power.
Restart automatically after a power failure
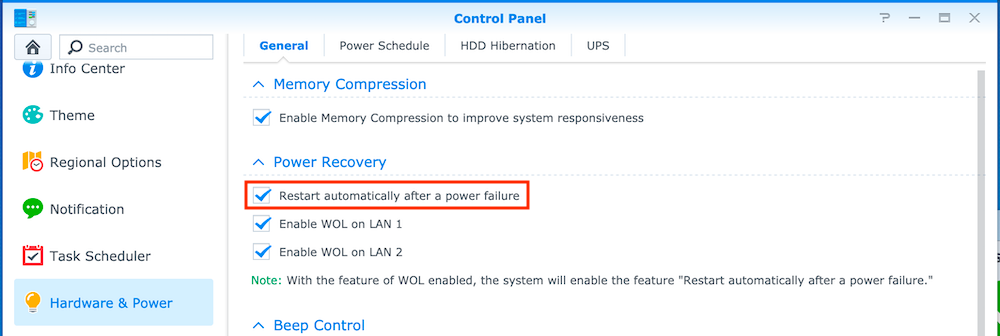
First you'll need to enable "Restart automatically after a power failure". This will make sure that after your UPS has shut down your NAS, it will automatically reboot when power has been restored.
No UPS is connected
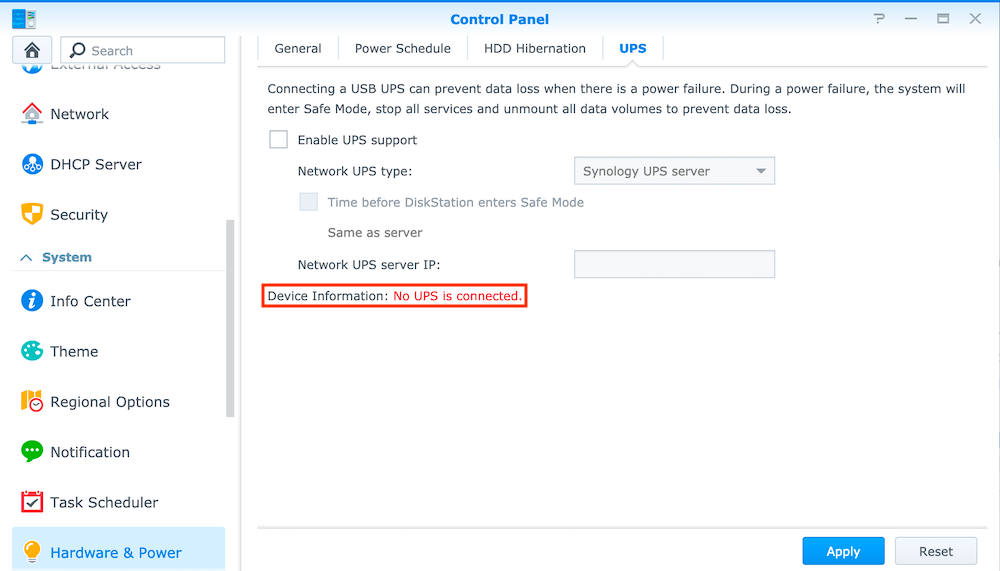
If you see "UPS has been connected", you can skip this step.
For some strange reason, my UPS was not automatically detected, even though it did show up in the Info Center and in the terminal via lsusb. This is where it got a bit complicated. In the end, I was able to solve this by manually configuring it.

On the backend Synology uses NUT as a UPS daemon. As such, you can modify the NUT server config files manually to support the UPS. The configuration file can be found at: /usr/syno/etc/ups/ups.conf
In my case, the file was completely empty, so I simply added the following lines:
[ups]
        driver=usbhid-ups
        port=auto
You can do this by logging in to your NAS over SSH and using vim: sudo vi /usr/syno/etc/ups/ups.conf
The other option is to simply copy what seems like a correctly configured file from /etc/ups by running the following command: sudo cp /etc/ups/ups.conf /usr/syno/etc/ups/ups.conf
This is what I ended up going for - but both approaches work. Now that the file is correctly configured, simply reboot your Synology and you should be able to enable UPS support.
Enabling UPS support
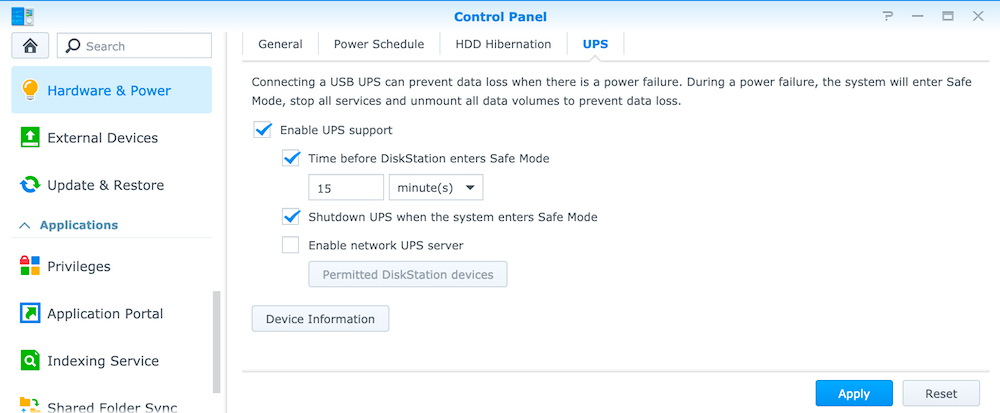
Now that your Synology NAS has recognised your UPS, you can enable it. Simply check "Enable UPS support". Next, enable "Shutdown UPS when the system enters Safe Mode".
I also set "Time before DiskStation enters Safe Mode" to 15 minutes. The calculation here is that my UPS can power my equipment for about 1 hour, meaning that there would have to be 4 outages right after each-other for my NAS to not have enough time to shut down properly.
Checking your UPS status
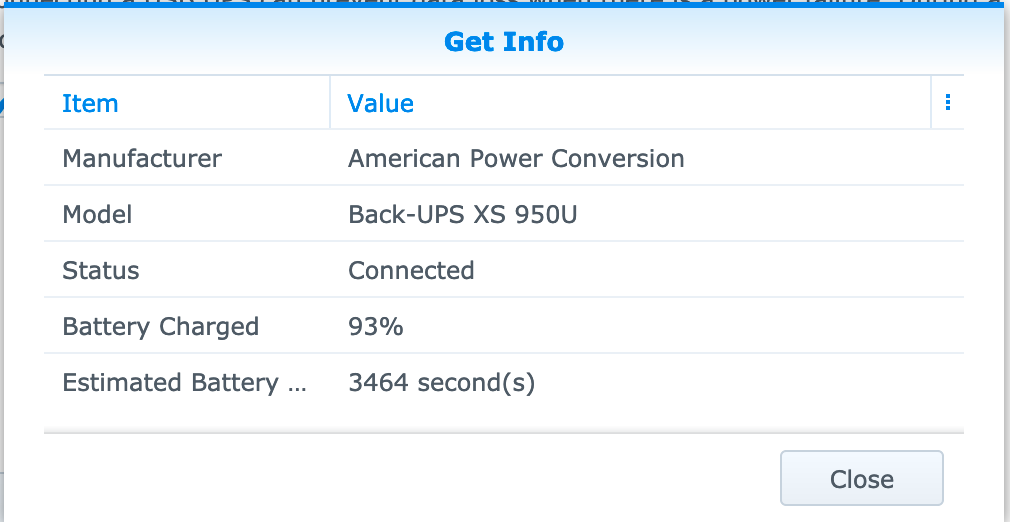
Lastly, you can check your UPS status by clicking "Device Information". This will show you the estimated run time on battery as well as the charging status.
That's it! You now won't have to fear that your Synology NAS will shut down unexpectedly!