Migrating Plex from Mac to your Synology NAS
Ever wanted to migrate your Plex Media Server from your Mac to your Synology? Simply follow this step-by-step how-to!

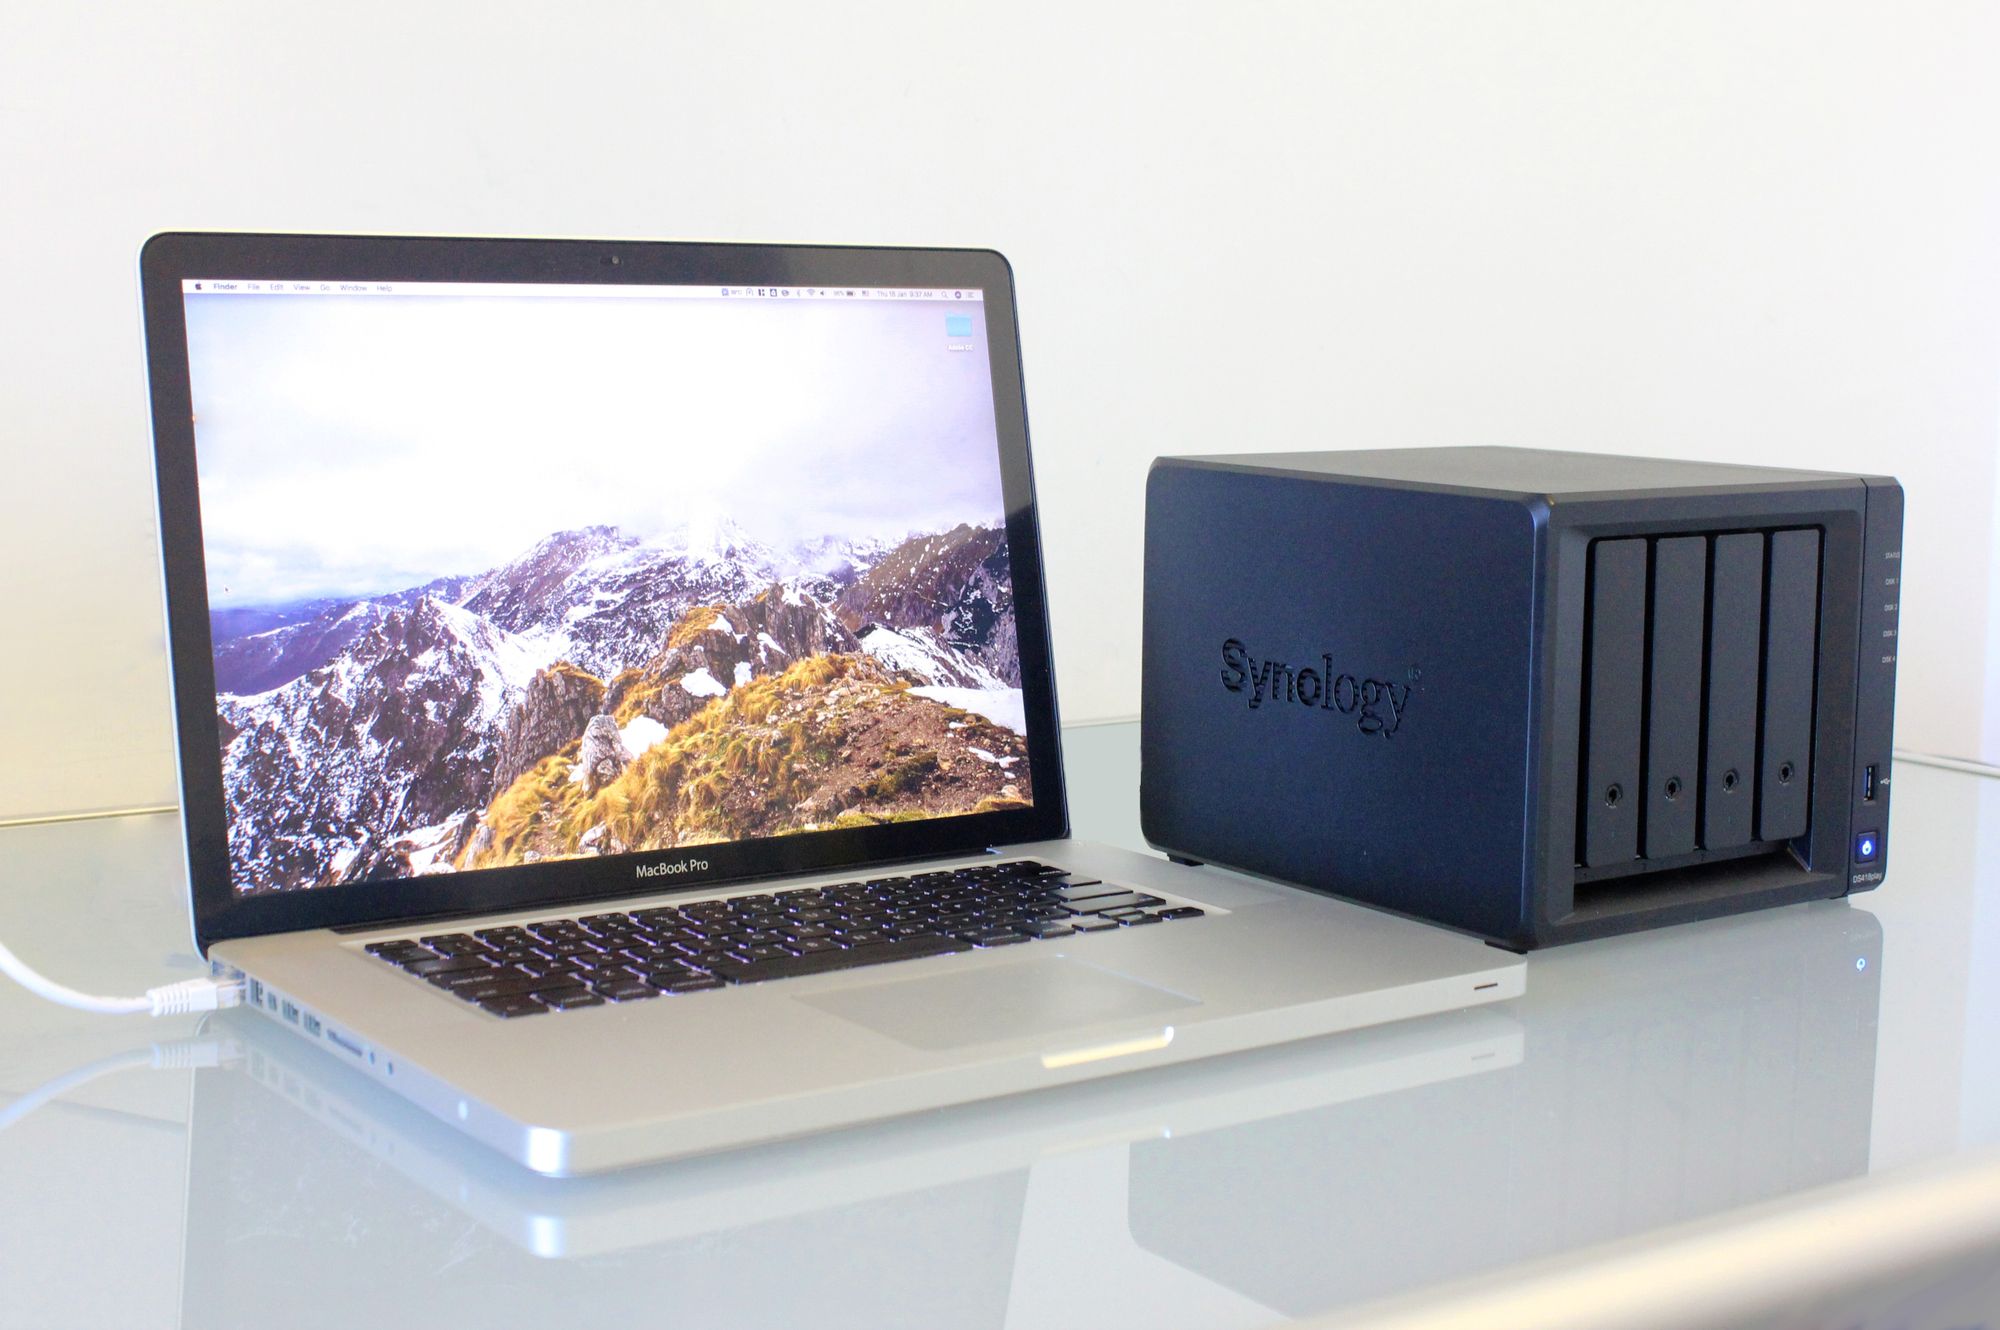
It's been over 7 years that I've been running my Plex server off my trusty old 2011 Mac Mini. With it's SSD starting to fail, the time has come to retire it and move my Plex server to my new Synology DS918+, with an upgraded 8GB of RAM. With nearly a decade worth of watch history and friends who are using the server on the regular, it was key to not loose any of the history and libraries.
Given this would be the first time moving Plex from Mac to Linux, instead of Mac to Mac, the migration would require a bit more work. Luckily, I came across a great post by Mo_Gas on the Plex forums, making this process quite painless.
Prepare your Synology NAS
First, we need to get Plex up and running on your Synology NAS.
Install Plex Media Server on your NAS
As I have a DS918+, thus an Intel based NAS, I wanted to make sure that I can take full advantage of hardware transcoding, so I downloaded the Intel 64bit PlexPass version from the Plex website.
I then proceeded to install this by going to the Package Center app and selecting Manual Install and selecting the file I just downloaded.
Configure your new Plex Media Server
With the installation of Plex Media Server completed, go through the setup wizard , but don't add any folders to any library. It is also key to make sure to disable empty trash and automatic library updates in the server's Library settings.
Stop PMS on Synology
With the new server initiated, it's time to stop it. Simply go to the Package Center, look for the Plex Media Server app and press Stop.
Your Synology NAS is now ready for you to import your existing Plex data.
Package up your Plex Server on your Mac
Now that your Synology is ready, it's time to get your existing Plex data off Mac.
Disable Empty Trash / Library Updates on your Mac.
As a first step, go to your existing Plex Server's configuration, under Library, once again disable Empty trash automatically after every scan and Scan my library automatically as well as Scan my library periodically. Save these changes.
Stop Plex Media Server
Simply stop your Plex Media Server on your Mac.
Optional - Transfer content
If you are storing your Plex content locally on your Mac, this is the moment where you may want to transfer it to your NAS. Keep in mind, that your content should be accessible by your Synology at the end of this.
Package up your Plex Media Server data
Time to pack it up! In a terminal window, package up your Plex Server data, excluding the Plug-ins folder, by running the following commands:
cd ~/Library/Application\ Support/Plex\ Media\ Server/
tar --exclude='./Plug-ins' -zcvf ./backup.tar.gz .
You can change the ./backup.tar.gz part of the command above to store your backup elsewhere besides the folder itself. I actually ended up saving it to a mounted drive on the NAS, allowing me to access it directly from the NAS.
In my case, the command above took several hours to complete due to the large amount of small files.
If you store it locally as per the command above, copy the backup.tar.gz file over to your NAS once the command completes.
Get your Plex Media Server identifiers
Now we need to make sure we get the Plex Media Server identifiers, so that we can have your new Synology Plex server maintain the same identity and shares.
Start with converting your Plex configuration file into a readable format by executing the following command in Terminal: plutil -convert xml1 com.plexapp.plexmediaserver.plist
Now open the com.plexapp.plexmediaserver.plist file in a text editor and look for MachineIdentifier and ProcessedMachineIdentifier entries and copy their value to temporary document. We'll get back to these later.
Restore your data on your Synology NAS
We've finally gotten to the step where we are restoring Plex onto your Synology NAS.
The easiest here is to do the following steps through SSH, however it's also possible to do this via the Synology Web Interface.
Extract your Backup, overwriting existing data
My Plex was installed on volume1 and I had copied the backup.tar.gz to my user's home directory, however you may have to slightly adapt the file paths in the commands below. Run them one at a time:
sudo su
mv backup.tar.gz /volume1/Plex/Library/Application\ Support/Plex\ Media\ Server/
cd /volume1/Plex/Library/Application\ Support/Plex\ Media\ Server/
tar xvzf backup.tar.gz
This will now start unpacking your data into your Plex Server directory. Once that's done, run the following command:
chown -R plex:users .This will make sure your Plex Server has the correct access to these files.
Update the Plex configuration files
Now that your data has been restored, you'll need to restore the identifiers.
Open Preferences.xml under [PATH_TO]/Plex/Library/Application Support/Plex Media Server/. Look for the MachineIdentifier and ProcessedMachineIdentifier in that file and change values to the values you have copied from your Mac into your temporary document before.
Fire up Plex and clean up
Now that all your data has been restored and configured, you can fire up Plex. In Package Center, start the Plex Media Server app again.
Now you should be able to go to your Plex dashboard and find your Synology NAS with all the same data as your old Mac.
Add new Library folders
As your file paths for your library's data have changed, you will now have to go into every Library's configuration and add the new filepaths. Do NOT remove the old ones just yet.
Once you've done that for all your libraries, manually refresh all your Libraries. Double check if all your files are showing up in your libraries and are playing.
Remove old Library folders
Now that you have mapped all your folders again and refreshed your library, you can remove those old folder locations.
Now refresh your libraries once more.
Once that is complete, give your library another check. You may see some items with a red trash can. I'd recommend checking those items. In my case these were some files that had 2 paths originally that now only had 1, but always worth double checking.
Re-enable automatic updates and the trash
Now that all data has been restored, you can go back to the Library server configuration and re-enable automatic library updates and the Empty Trash functionality if you want to use those features.
Optional - Enable Hardware transcoding
The following step only applies to the Intel based Synology devices and PlexPass users. If that's you, I would highly recommend that you enable hardware accelerated transcoding.
For this, head to the Transcoder section in your server settings, hit Show Advanced at the top and select Use hardware acceleration when available.
This will enable hardware transcoding, which will significantly decrease your CPU load for video transcoding.
Closing
That is all! By now you have hopefully successfully migrated your Plex Media Server from your Mac OSX machine to your Synology NAS.
Personally, I've been very happy over the last few days with my DS918+, not really experiencing any issues when it comes to transcoding 1080p content.