Tinc Mesh VPN on Tomato


I recently visited my parents and realised that it would be great to continue to easily access my network at home. Sadly, as a Virgin Media customer, the upload speed is poor, so using the VPN I set up isn’t the answer, as all traffic would always be routed to my home.
Looking around the internet I found the answer to my problem. Even better, it was already available on Tomato Firmware, which I use on my routers. The solution was tinc.
What is tinc
tinc describes themselves as a Virtual Private Network (VPN) daemon that uses tunnelling and encryption to create a secure private network between hosts on the Internet. It has a few nifty features, such as encryption, compression, mesh routing and a super simple configuration.
My setup
I am in the fortunate position that both my networks have a Asus RT-N66U, the Asus RT-AC66U is the successor, which both run Tomato Firmware by Shibby. This made the configuration very straightforward. Please make sure that you have the AIO builds, that include tinc as not all builds include it.
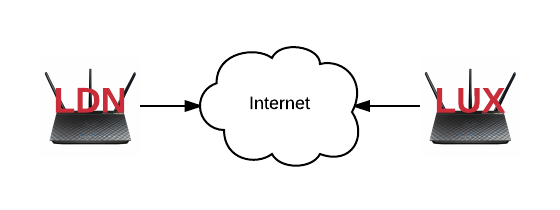
The networks were configured with the following IP ranges – for this example we will only look at IPv4, not IPv6:
- London (LDN): 10.0.0.0/24
- Luxembourg (LUX): 10.10.0.0/24
As neither side have static IPs, I also have DynDNS hostnames set up for both.
Now that the basics are there, let’s configure tinc.
Configuring tinc on Tomato Firmware
Log in to your first router, we’ll start with LDN, and head to VPN Tunneling -> Tinc Daemon.
I recommend running Tinc in ‘tun’ mode. For tun, each node must use a different subnet. These subnets must fit with the ‘VPN Netmask’ found in the config tab. In our example, as we’re using 10.X.X.X IP addresses for our networks, we can use the full 10.0.0.0/8 space, meaning the netmask value would be 255.0.0.0. Tomato by default uses a /24 netmask for it’s networks. You can then add subnets starting from 10.0.0.0/24 – 10.255.255.0/24 and everything in between.
Once you set the interface type to tun and set your VPN Netmask, you can set the name for your node. We’ll set this to ldn for our first router, and lux for our second one.
Next we’ll go to the Generate Keys tab and press Generate Keys at the bottom. You should end up with a set of keys like the following:

Starting with tinc1.1pre11, only Ed25519 keys are required. RSA keys are only needed for backwards comparability in order to connect to tinc1.0 nodes.
Copy both Ed25519 Private Key and RSA Private Key (if you want to support tinc 1.0) into the Config tab.
Next we’ll head to the Hosts tab. We must create an entry for the node itself in the Hosts section. This information will be shared with other nodes to create connections. As such, on the router ldn, you would create a host ldn with the keys from the Generate Keys tab for that router. Copy the public keys into the fields.
For the address, use your static public IP address if you have one, or a DynDNS hostname. In the subnet column, enter the network IP range that you want that host to share. In the case of LDN, it would be 10.0.0.0/24, LUX would be 10.10.0.0/24.
Once you have done this on both routers, you need to add them to each other and select the ConnectTo checkbox. The nodes share the hosts’ information to help them connect to each other. As such, it isn’t necessary to define every node in every router. If Node A and Node B are connected, and Node A and Node C are connected, then Node B and Node C will learn about each other through Node A. Node B and Node C should then be able to communicate directly to each other.
The hosts table should look like something like this:
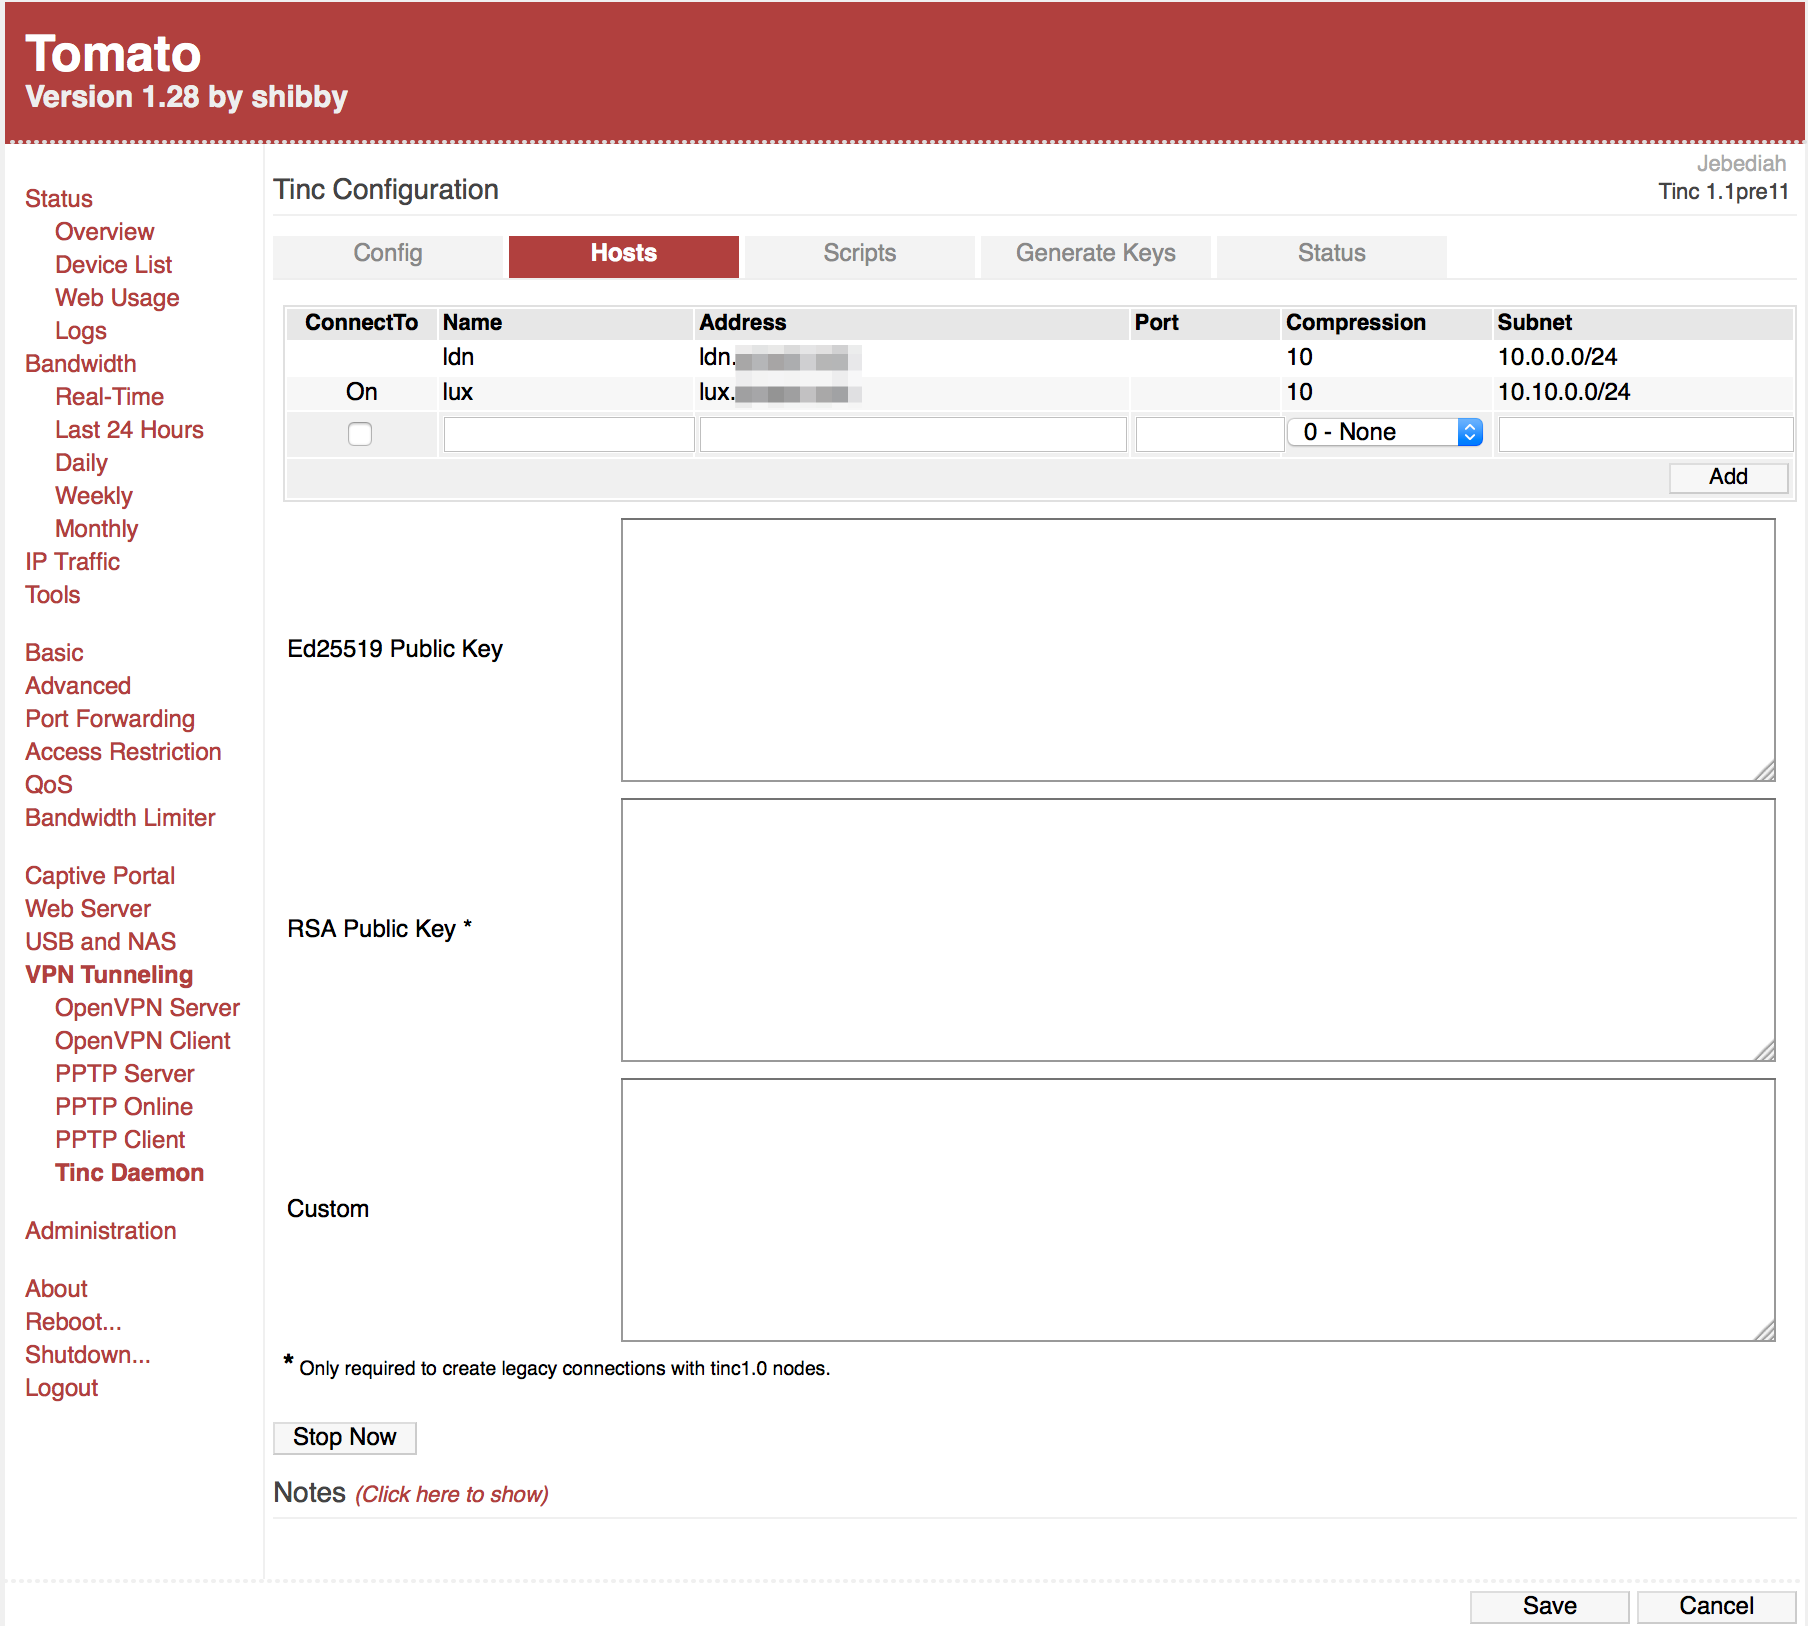
Now you just need to hit Save and Start on both routers.
The Status area is active when tinc is running, and will give you some information about the mesh.
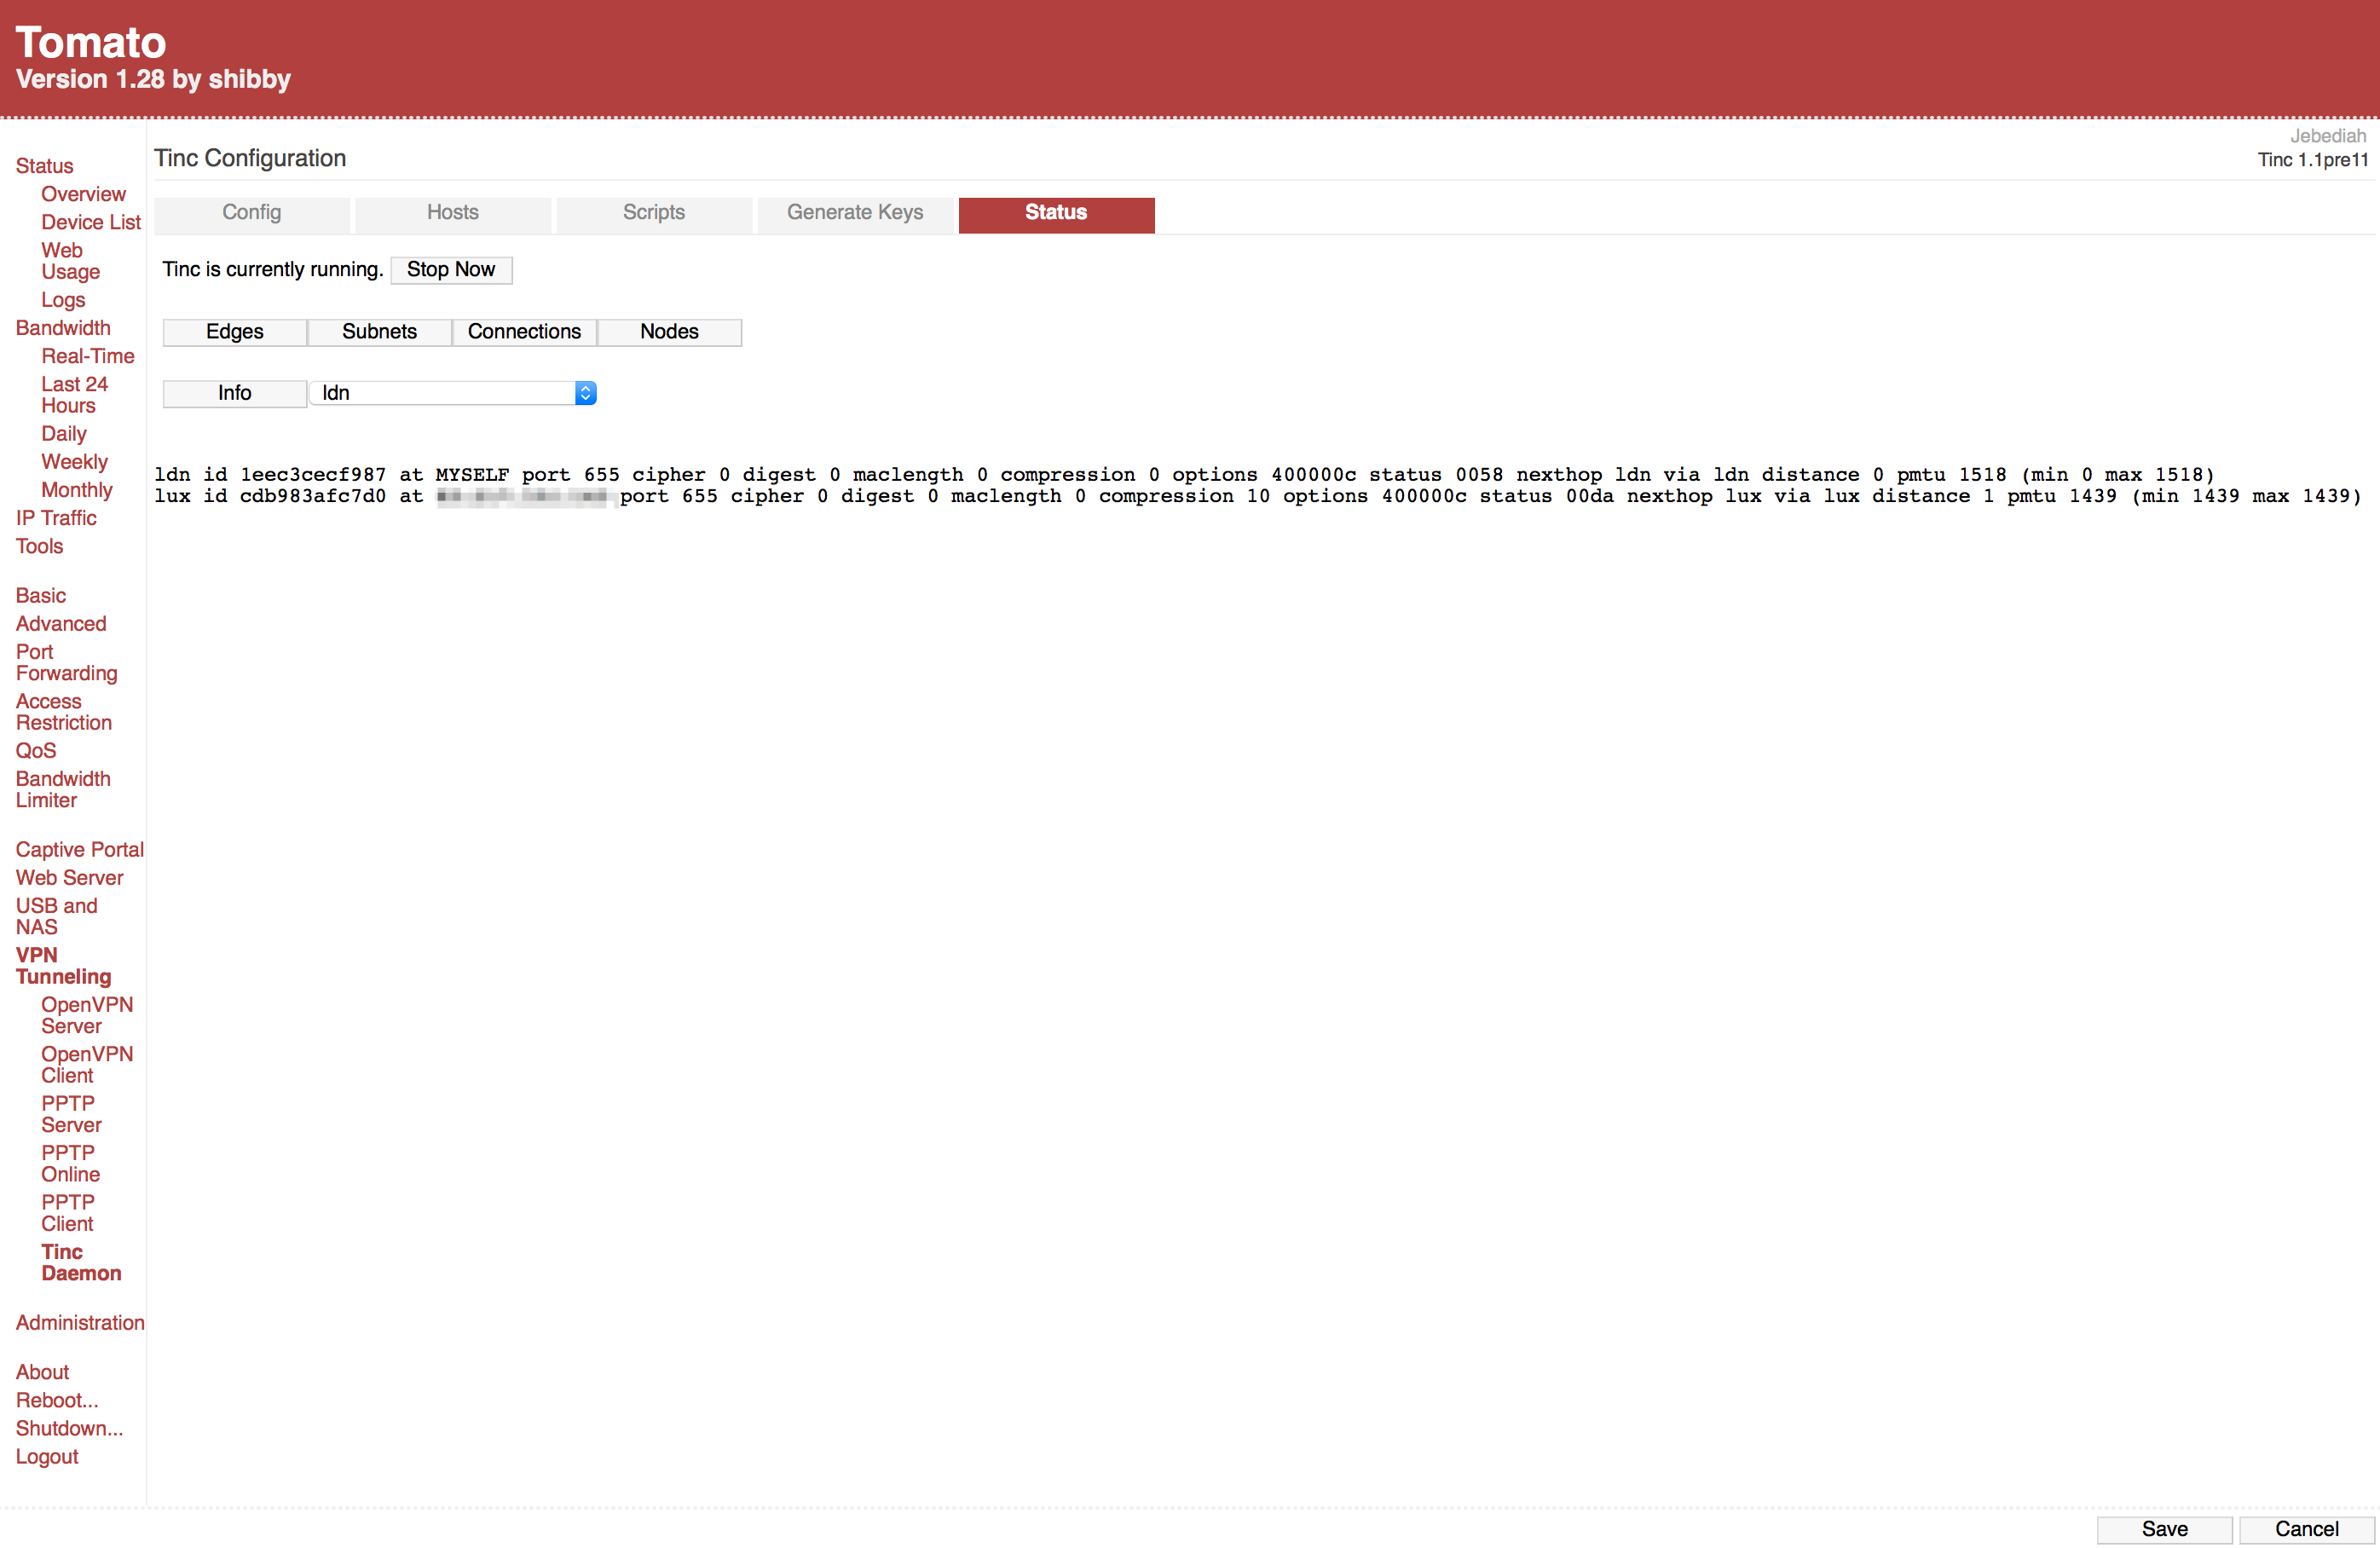
‘Edges’ and ‘Connections’ show nodes for which ConnectTo was defined in one or both Nodes. If you don’t see a connection between two particular nodes, this doesn’t mean they aren’t communicating directly to each other. It means that neither had ConnectTo defined for the other, which is fine. The ‘info’ button will give you more detailed information about a particular node. Sometime it says “Reachability: unknown” if neither of those nodes have attempted communicating to each other yet.
There must be some path of ConnectTo’s among the network so all nodes can learn of each other.
The ‘Scripts’ tab allow you to define scripts to run whenever a subnet or host becomes available or unavailable.
That’s it. Enjoy your connected network.